



Rootly
Connecting NeuBird to Rootly makes your incident history available to investigations, so past incidents, their alerts, and their post-mortems can be correlated with what NeuBird is looking at now.
Prerequisites
Section titled “Prerequisites”You need a Rootly API key. NeuBird authenticates with it as a bearer token and reads incidents, alerts, and post-mortems.
Create a Rootly API Key
Section titled “Create a Rootly API Key”-
Open API Keys: in Rootly, go to Settings, then API Keys under Organization. Click Generate New API Key.
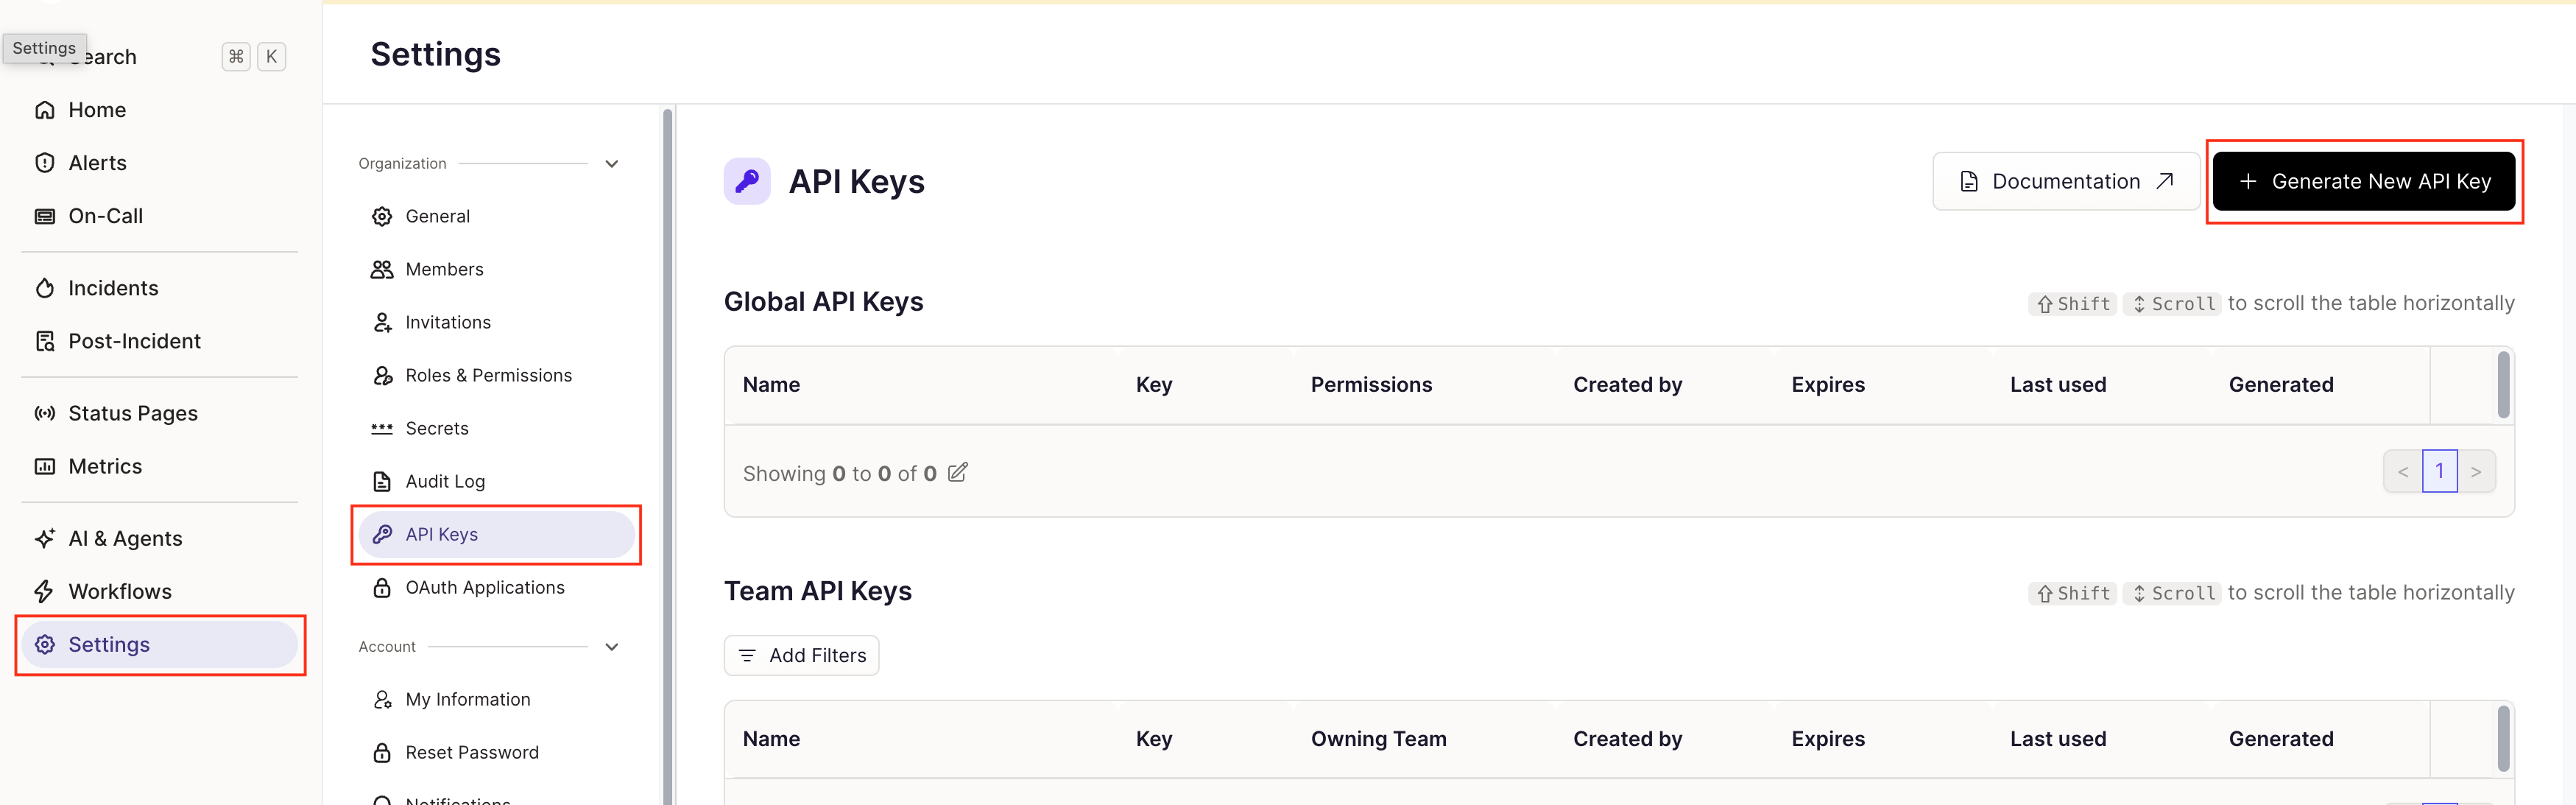
-
Choose the key type: the type determines how much NeuBird can see.
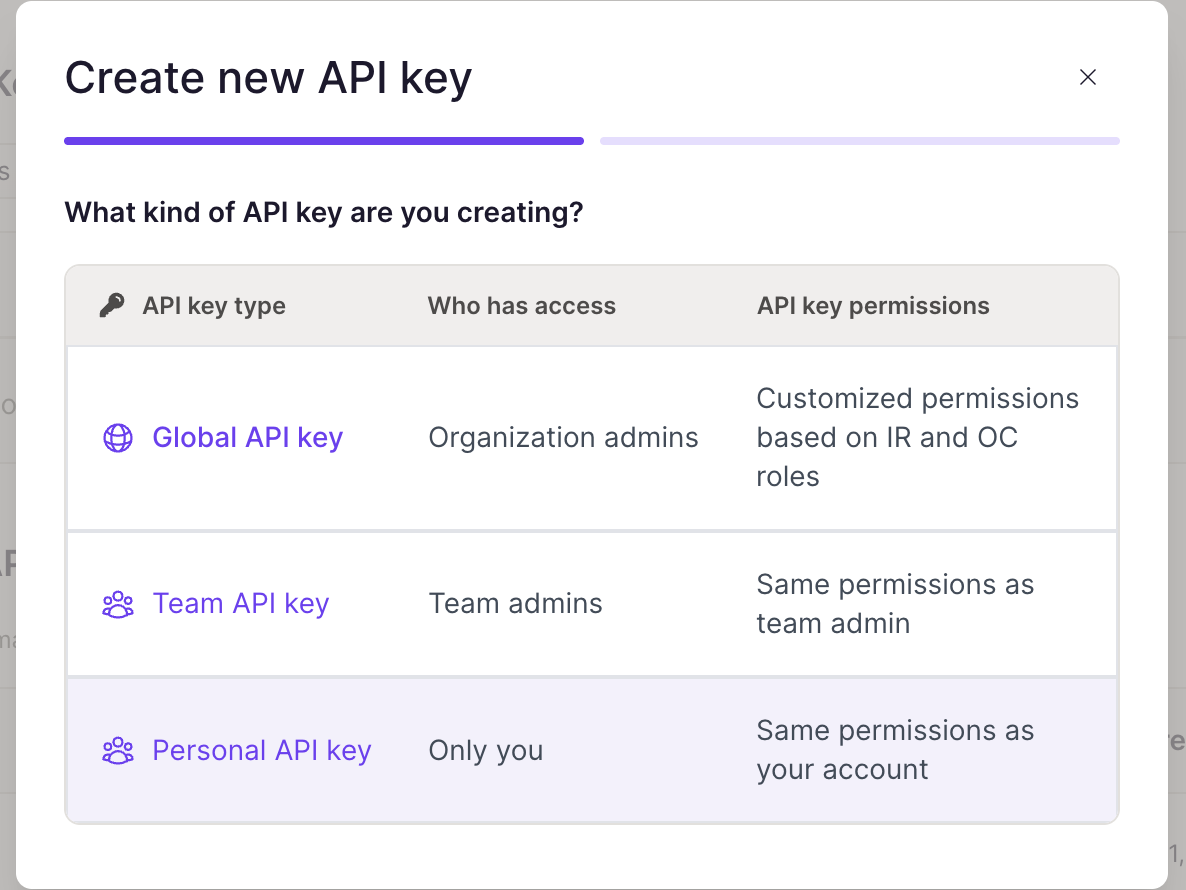
Type Who has access What NeuBird sees Global Organization admins Permissions based on IR and OC roles. Recommended. Team Team admins The same entities as a team admin Personal Only you The same entities as your own account -
Name the key and set an expiration: give it a name such as
neubird-api-key, then choose an Expiration. Click Create.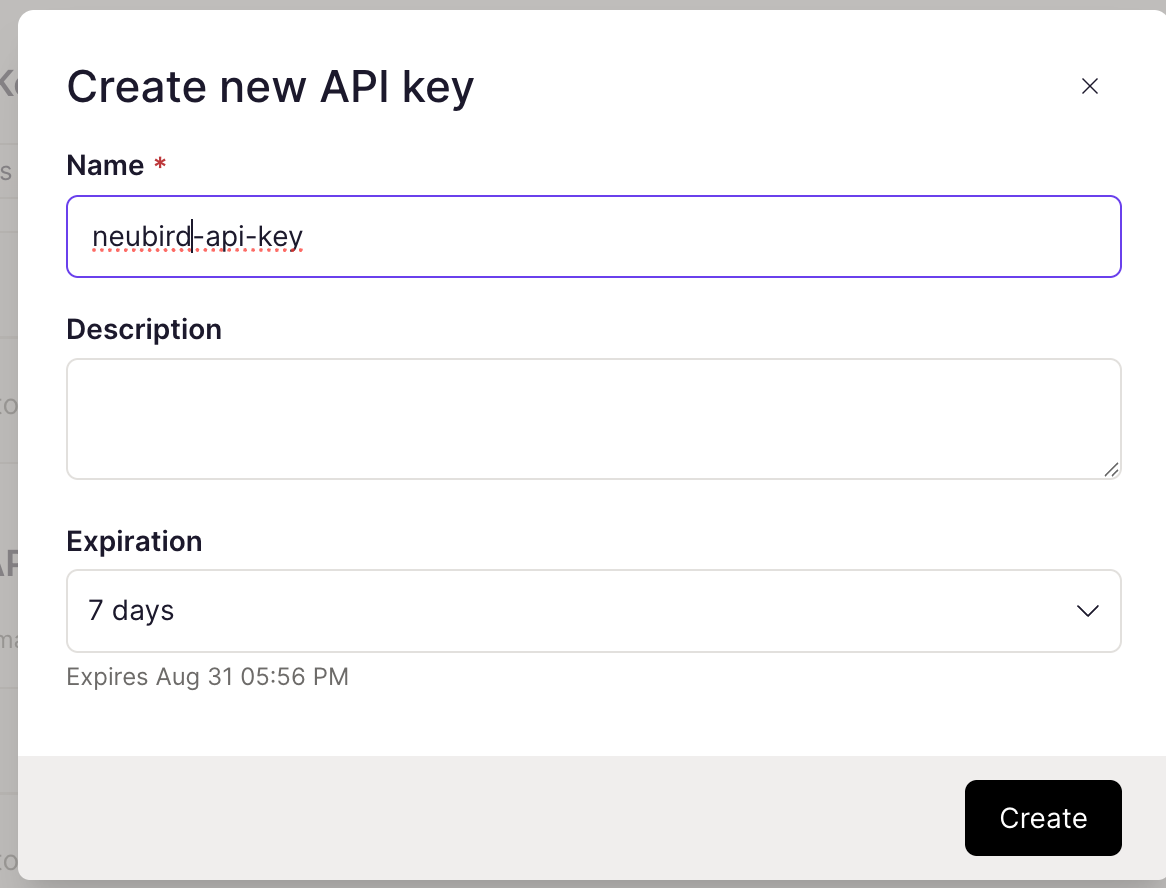
The expiration defaults to 7 days. When the key expires the connection stops syncing, so pick a window you can live with and set a reminder to rotate it.
-
Copy the key immediately: Rootly shows the value once. Copy it, then click I have the API key now.
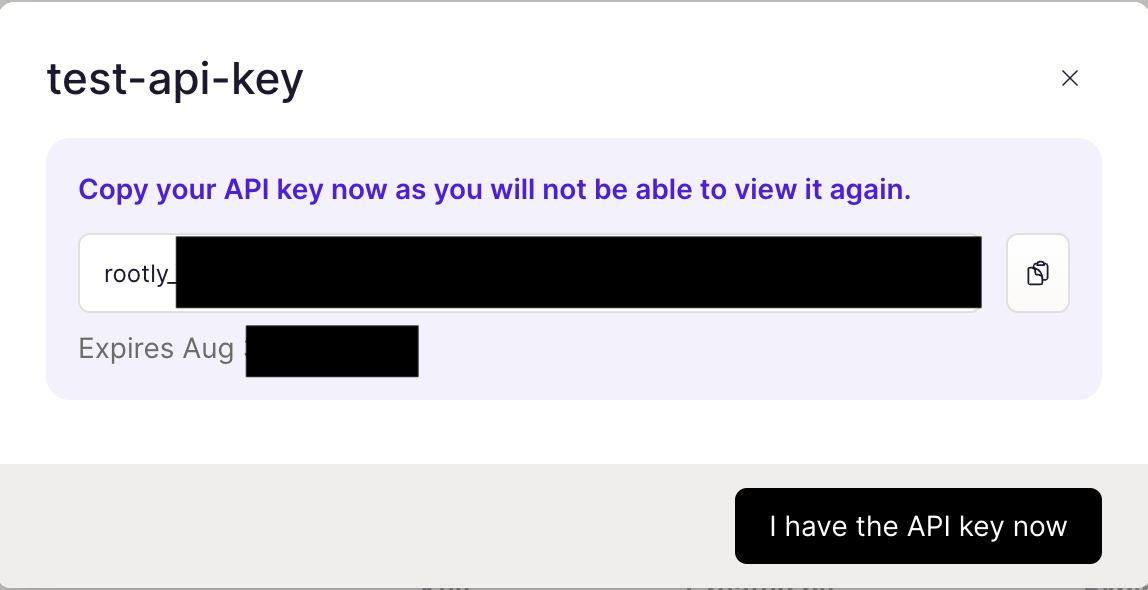
Rootly API keys begin with
rootly_.
NeuBird validates the key by calling Rootly’s current-user endpoint, so a key that cannot read incidents will still validate successfully but return no data. If a connection syncs without errors and no incidents appear, check the key’s type first.
Connection Fields
Section titled “Connection Fields”| Field | Required | Description |
|---|---|---|
| Name | Yes | A descriptive name for this connection |
| Description | No | Optional note about what this connection is for |
| API Key | Yes | The Rootly API key generated above |
Rootly is SaaS-only and NeuBird always calls
https://api.rootly.com. The API URL field on the form has no effect — leave it blank.
For general instructions on creating and managing connections, see the Connections Overview.