



InfluxDB Cloud
Connect InfluxDB to collect time-series metrics, performance statistics, and event logs from your InfluxDB instances.
Step 1: Create an InfluxDB API Token
Section titled “Step 1: Create an InfluxDB API Token”To securely connect NeuBird to InfluxDB, generate an API token with the necessary permissions.
-
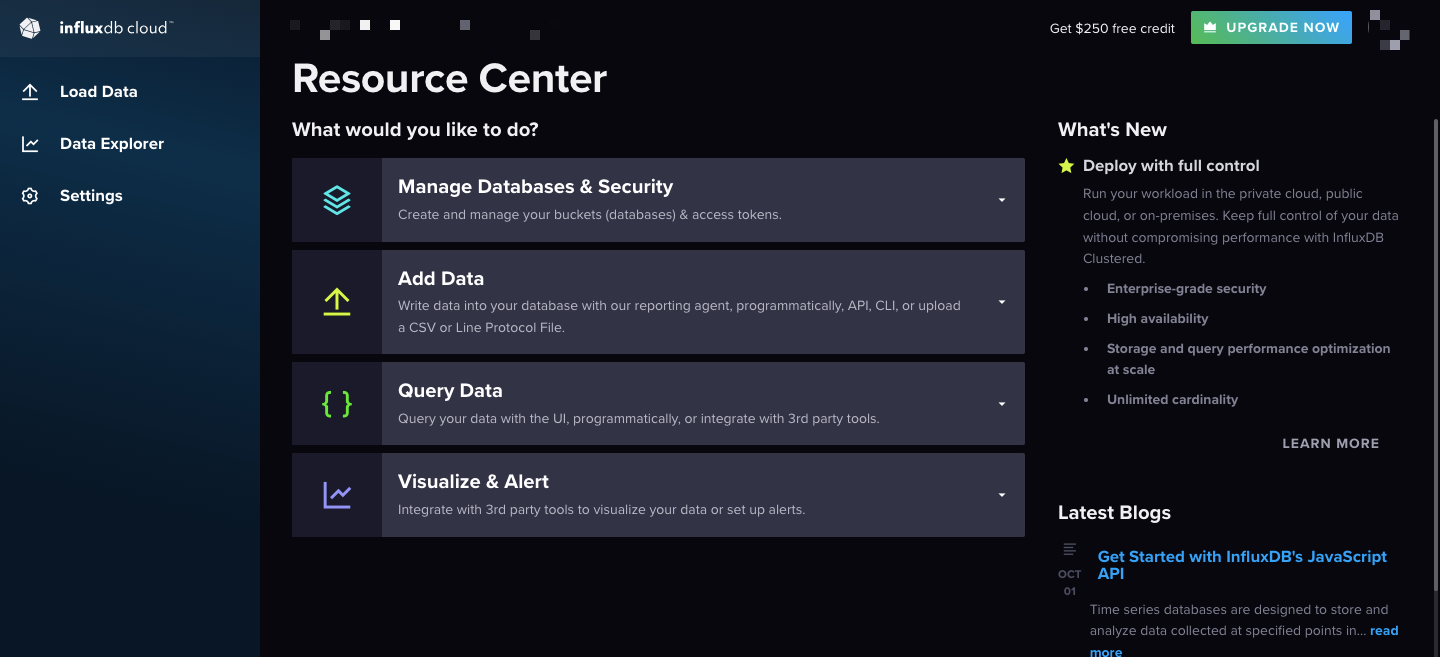
Log in to InfluxDB: Go to the InfluxDB Cloud console and log in to your account.
-
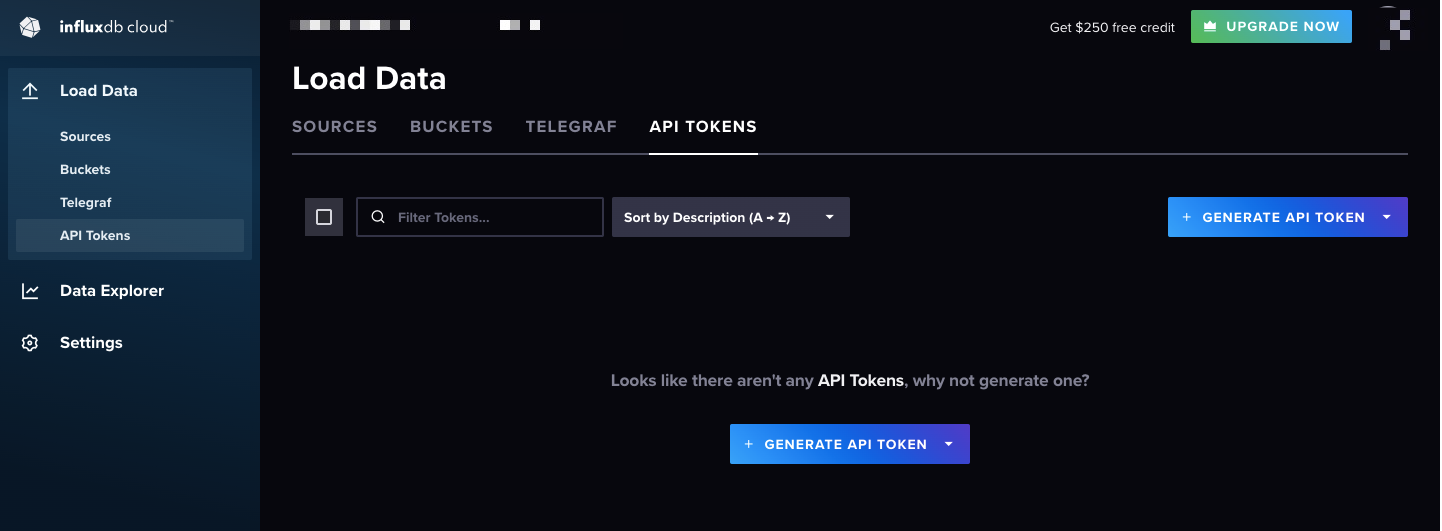
Navigate to API Tokens: From the console, go to Load Data > API Tokens.
-
Generate an API Token:
-
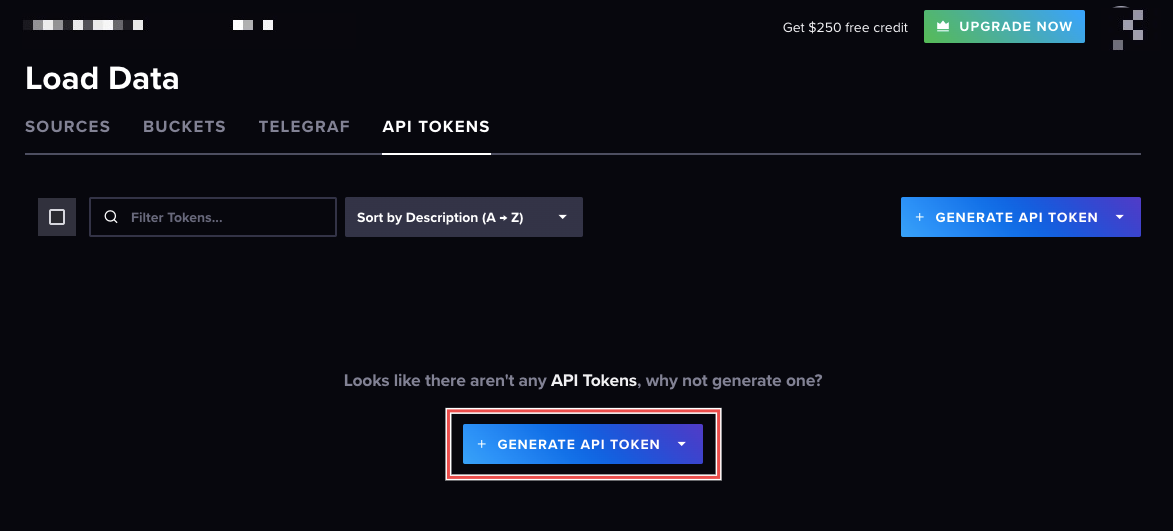
Click on Generate API Token.
-
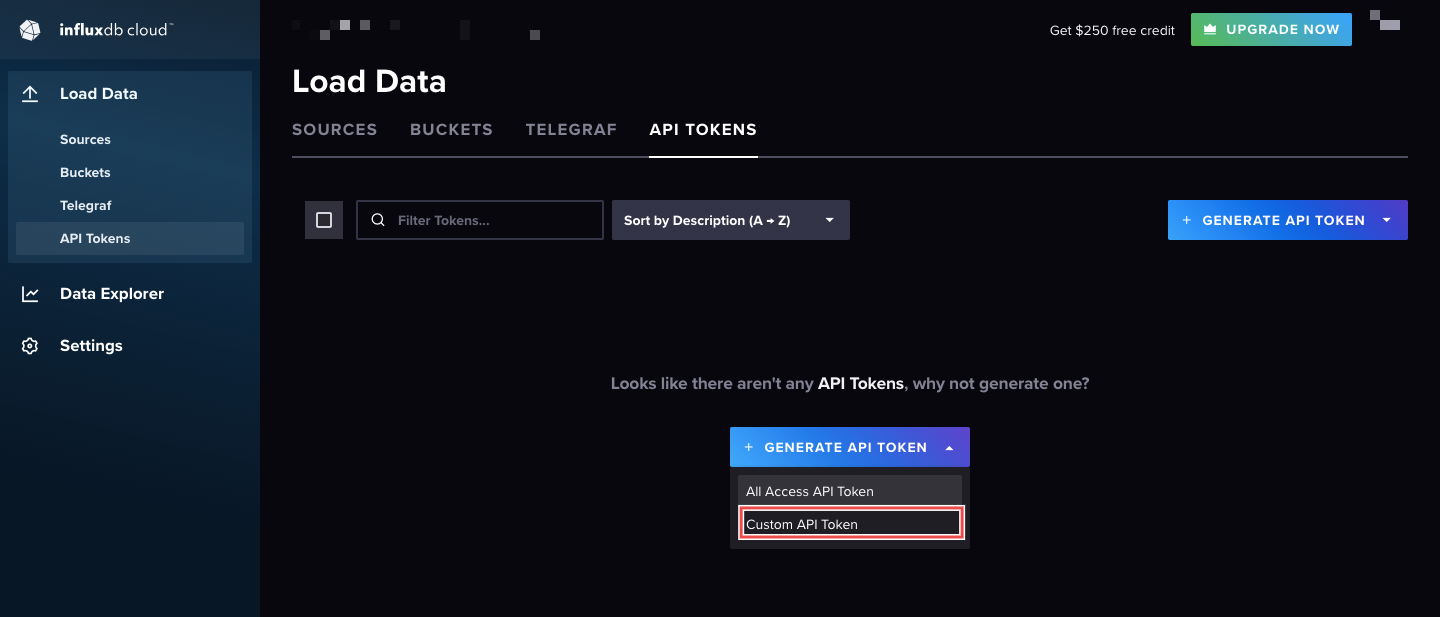
Select Custom API Token to ensure that NeuBird can collect data from InfluxDB.
-
Give the token a name, grant its permissions, and click Generate.
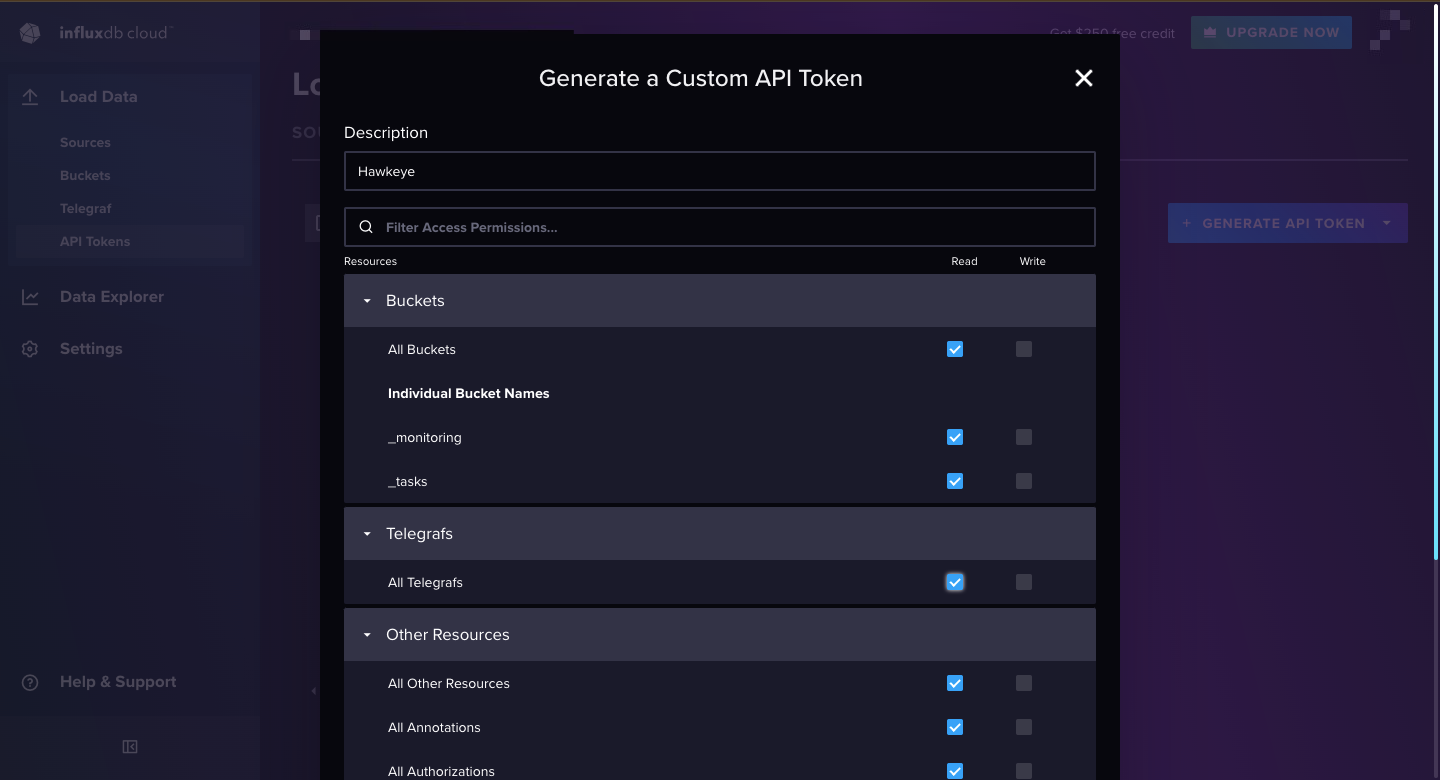
-
-
Copy the API Token: After creating the token, copy it. You will use this token when creating the connection.
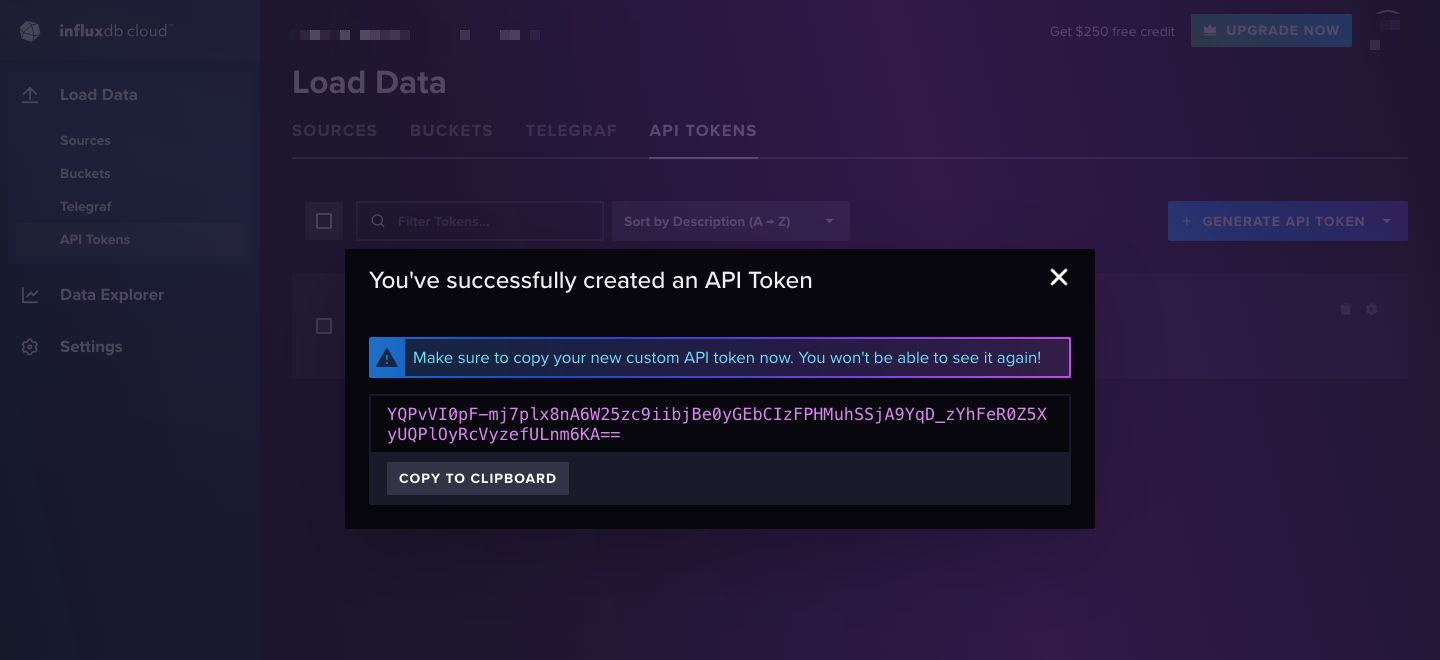
Note: The steps above apply to InfluxDB v2/v3. If you’re connecting to a legacy InfluxDB v1 instance, there is no API Tokens UI to generate a token from — v1 authenticates with a username and password instead. Skip the steps above and use your InfluxDB v1 credentials directly when creating the connection.
Connection Fields
Section titled “Connection Fields”| Field | Required | Description |
|---|---|---|
| Name | Yes | A display name for this connection |
| Description | No | Optional description of the integration |
| API Token | Yes (v2/v3) | The API token generated from the InfluxDB Cloud console |
| Username | Yes (v1 only) | Your InfluxDB v1 username, used for basic auth instead of an API token |
| Password | Yes (v1 only) | Your InfluxDB v1 password, used for basic auth instead of an API token |
| URL | Yes | Your InfluxDB instance URL |
| Organization | Yes (v2/v3 only) | The InfluxDB organization name |
For general instructions on creating and managing connections, see the Connections Overview.