

Tasks
Overview
Section titled “Overview”The Tasks page lets you set up recurring AI investigations that run on a schedule. Each task defines a prompt that the NeuBird agent executes automatically, so you can monitor cloud costs, system health, deployment pipelines, and more without manual intervention.
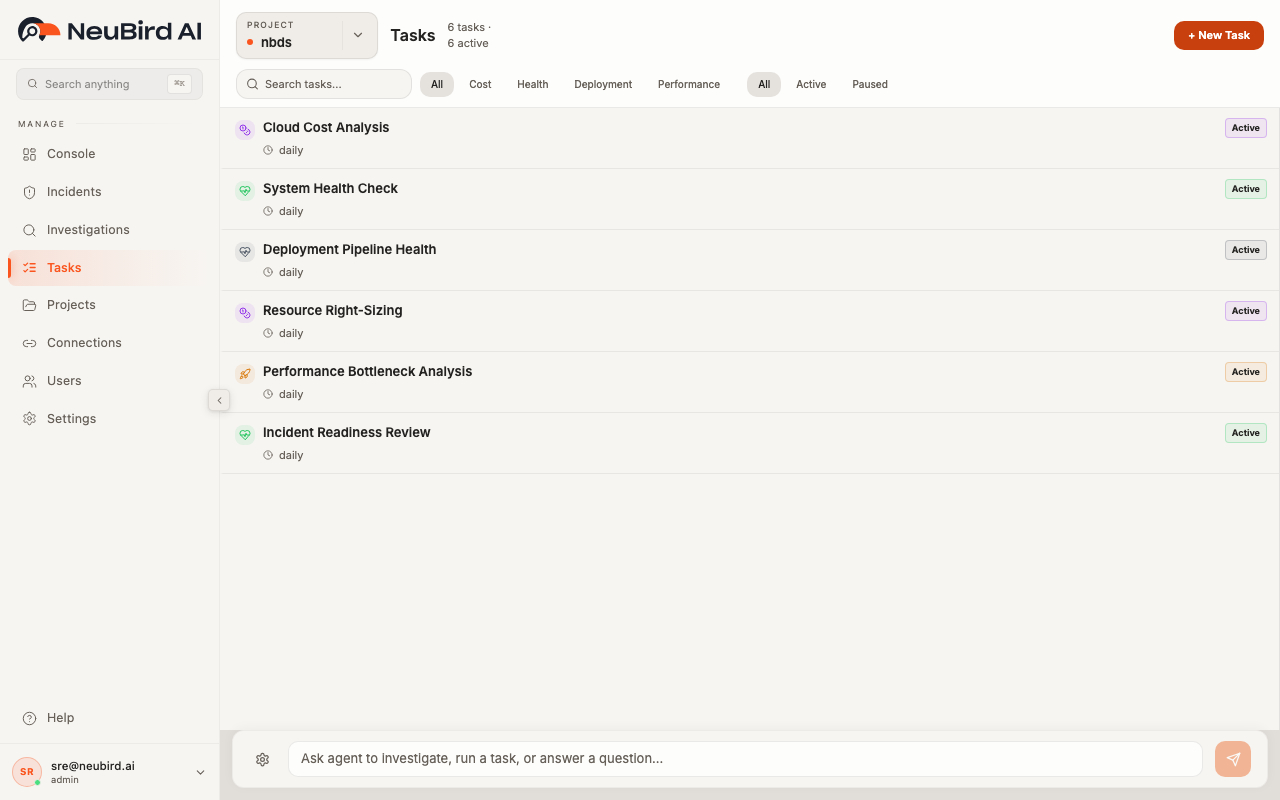
The header shows the total number of tasks and how many are currently active. Use the Project Switcher in the top left to change which project’s tasks you are viewing.
Browsing Tasks
Section titled “Browsing Tasks”Tasks are displayed as a list, with each row showing the task name, its schedule (e.g. “daily”), and a status badge (Active or Paused). A colored icon on the left indicates the task category.
You can narrow the list using three sets of controls in the filter bar:
- Search — type in the search field to filter tasks by name.
- Category pills — click a category such as Cost, Health, Deployment, or Performance to show only tasks in that category. Click All to clear the filter.
- Status pills — click Active to show only scheduled tasks, Paused to show only paused tasks, or All to show both.
Paused tasks appear dimmed in the list so you can quickly distinguish them from active ones.
Creating a Task
Section titled “Creating a Task”- Click the + New Task button in the top right corner.
- A template picker panel opens on the right side. You can choose from predefined templates (Cloud Cost Analysis, System Health Check, Deployment Pipeline Health, and others) or select Custom Task to start from scratch.
- After selecting a template, the task form opens with the following fields:
- Title — a short name for the task.
- Category — choose from Health, Cost, Security, Performance, Capacity, Dependencies, or Custom. The category determines the task’s icon and color.
- Prompt — the natural-language instruction the agent will execute. For example, “Analyze cloud spending trends and identify cost optimization opportunities.”
- Schedule — a plain-language schedule such as “Every 6 hours” or “Daily at 9am”. The schedule is validated automatically, and a preview of upcoming runs appears below the field.
- Click Create Task to save. The new task appears in the list and, if a schedule is set, begins running on that cadence.
Managing Schedules
Section titled “Managing Schedules”When you click a task in the list, its detail panel opens on the right. The Schedule section shows the current schedule and, for active tasks, the next scheduled run time.
- Enable or pause — use the toggle switch next to the schedule to turn the schedule on or off. Paused tasks remain in your list but do not run automatically.
- Edit — click the Edit button at the top of the detail panel to change the task’s title, category, prompt, or schedule. Click Save Changes when you are done.
- Delete — while editing, click Delete Task at the bottom to permanently remove the task.
Running Tasks
Section titled “Running Tasks”You do not have to wait for the schedule. From the detail panel, click the Run Now button to trigger the task immediately. The agent starts an investigation using the task’s prompt, and the result appears in the Recent Runs section below.
Each run entry shows:
- A colored status dot (green for completed, red for failed, blue for running)
- The run status label
- How long the investigation took
- How long ago it ran
Click any run to open the full investigation detail page with root cause analysis, findings, and recommendations.
Keyboard Shortcuts
Section titled “Keyboard Shortcuts”- Press Escape to close the current panel. If you are in the create or edit form, pressing Escape returns you to the detail view (or closes the panel if no task was selected).